Module 3 Formstorming

Weekly Activity Template

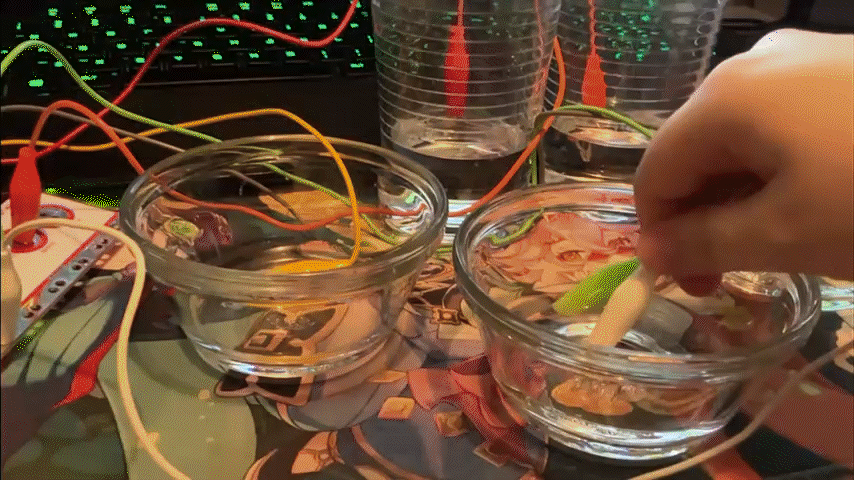
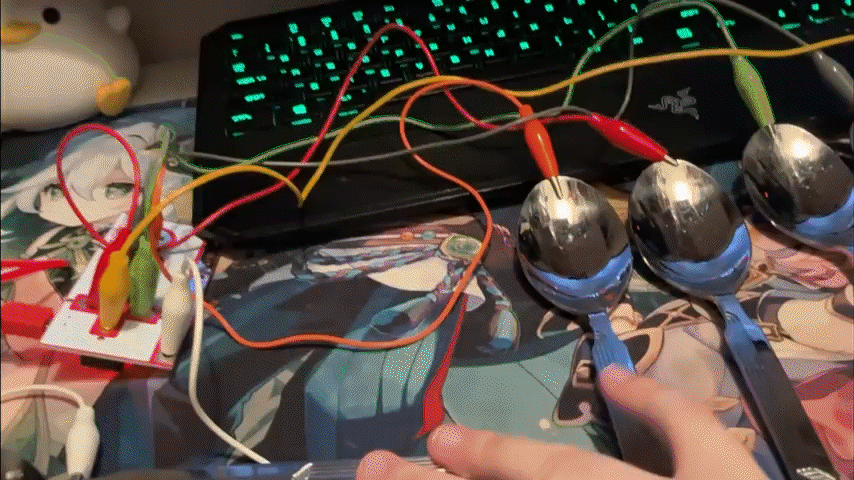
Mixing Sound and Touch


Project 3


Module 3

This module and its activities were by far my favorite to work on. I love gaming and I was really happy to get an opportunity to explore it alongside with my learning.
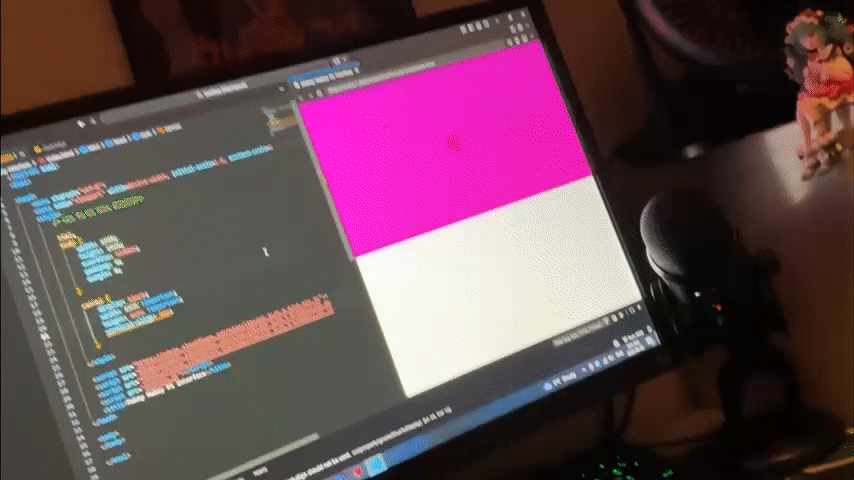
Activity 1

To start off my exploration I took to reading about the piano tiles game which I immediately thought of when we were given the project.
From there I started developing my rhythm game and ran into some issues with the note spawning logic.
I fixed the note spawning to align with the lanes and stop overlapping. I also used css to make it look better. I started to experiment with sound using p5.js. Here I created an oscillator with a visual representation of it. I expanded on the oscillator by making 5 different frequencies play/stop with keys and added visuals for what keys correspond to what. I moved the key labels to the bottom where the keys were. Originally I was planning to have my final design have labels for each lane but later realized it wouldn’t be needed if my inputs were in order. Thinking of other arcade games, I was inspired by space invaders and tried to make a shooter. I used css to change the colors so that the player and bullets looked better since blue was hard to see. I added collision to the enemies because previously the player could phase through them without consequences. After adding collision I added a health statistic and made enemy spawning more frequent- I later used a similar spawning mechanic for the notes in my final design.
Previously there was no game over screen and no way to restart the game, it’d just freeze. I added a game over when health reaches 0 and binded restart to the R key which I changed later to fit more with the makey makey inputs. I had an idea to do an art maker inspired by spirographs but had no idea how to make spirographs, so I focused on making an art creator that had different effects depending on input.
I expanded the options that existed for it, adding circles and different sizes + colors. 

Knowing the makey makey wouldn’t be able to control with a mouse I made it so that the shapes randomly spawned around the screen at different sizes and slowly faded away. I also added line patterns.
I noticed that my art creator wasn’t looking anything like a spirograph and thought I should change direction. I thought of different patterns made by shapes and remembered kaleidoscopes, which were also a part of my childhood like spirographs were. With the new direction, I mirrored the randomly spawning shapes into four sections which made visuals similar to a kaleidoscope where they’re completely symmetrical and look like they’re moving. I messed around with the spawn rate too much because I thought there weren’t enough shapes, and it made the entire screen look like this. I tried to put a limit on the number of shapes that can spawn instead, and the limit made the shapes condense in the middle. I added a glowing effect using css and copied the base layer I had with circles to make two more for squares and lines. I wanted to see what would happen if I made the colors random instead of picking from a set color palette, and it was overwhelming as well as looking ugly. Instead of having random colors individually for each shape I came up with the solution to make an input that randomly generates a color palette for every layer (circle, square, line).I really liked how it looked. I went back to my shooter and added different kinds of enemies- fast ones and slower but harder to kill ones. I found that with the current power of the player the game was really hard so I added a levelling system and upgrades. I changed the upgrade menu to take input from the arrow keys and space instead of using the mouse to select an upgrade. I also made the options change color when they’re selected. I added more frequent enemies as the player levelled up. This is also a representation of how the upgrades stacked.

Activity 2

I started my exploration by making a simple circuit that triggers with the press of a finger.
I hooked it up to the makey makey and used it on one of the templates as a basic first-time test.
I tried it with another template and it seemed to work well.
The template reminded me of water which inspired me to use water to trigger the inputs and later try multiple other options with different textures.
I took spoons from my kitchen which were surprisingly hard to attach to the makey makey because of its curved shape. I liked using them but wish they weren’t flat. I tried the spoons on my own code instead of a template because I wanted to see how they would work as buttons for my own code. While using the spoons I noticed how hard it was to control the code so I went back to the paper I first made to get a clearer understanding of why they mismatched. Its because the inputs are all in a row without visual separation between them. I tried the paper with the shooter I made and the mismatch was even worse. It wasn’t playable because the movement was too hard to do with a horizontal layout. I made a custom shoot and d-pad button for the shooter and it worked much better than when the layout was horizontal because the controls felt more intuitive. The biggest problem with this layout was how light and small the buttons were. I found they slid around a lot and it was hard to press them without looking down. Thinking of classic arcade buttons, I wanted to try something bigger. I gathered a few oranges from my kitchen and they worked really well in the same layout I did for the paper buttons earlier. I tried coins for the controls, which ended up being too small to use well. I also tried keys, which had the same issue as coins where they were too small and felt awkward. I took some metal bracelets we had in my home and tried to use them in the same configuration. They felt interesting because of the loops but it was too hard to press them and they struggled with conductivity. I wanted to try the game with a wearable glove, which was made from rubber. I struggled to use the buttons while wearing the glove because the wires on it would push the buttons away. After getting the buttons still, I found that the glove I made didn’t work which filled me with great sadness and frustration. I originally planned to have 5 wires on the glove for the inputs but started switching the wires around to troubleshoot which didn’t work either. I was in denial at this point and after moving more wires around resorted to tapping the space button repeatedly hoping it would work. Unsurprisingly, it didn't and I moved on. I got too frustrated with the glove not working and set up some putty to use with the makey makey. It was pretty hard to figure out how to connect the wires with the putty, I ended up poking them but originally I tried to clip them. Similar to the glove I kept moving the wires around hoping it would work. Turns out, the putty did not work as input either. By this point I was wondering if my wires were broken but after some troubleshooting tests they were fine. I looked up the material that the putty I was using was made of because I wanted to know why it didn’t work. The putty is silicone-based, which is an insulator so that explained why the putty didn’t work.

Project 3


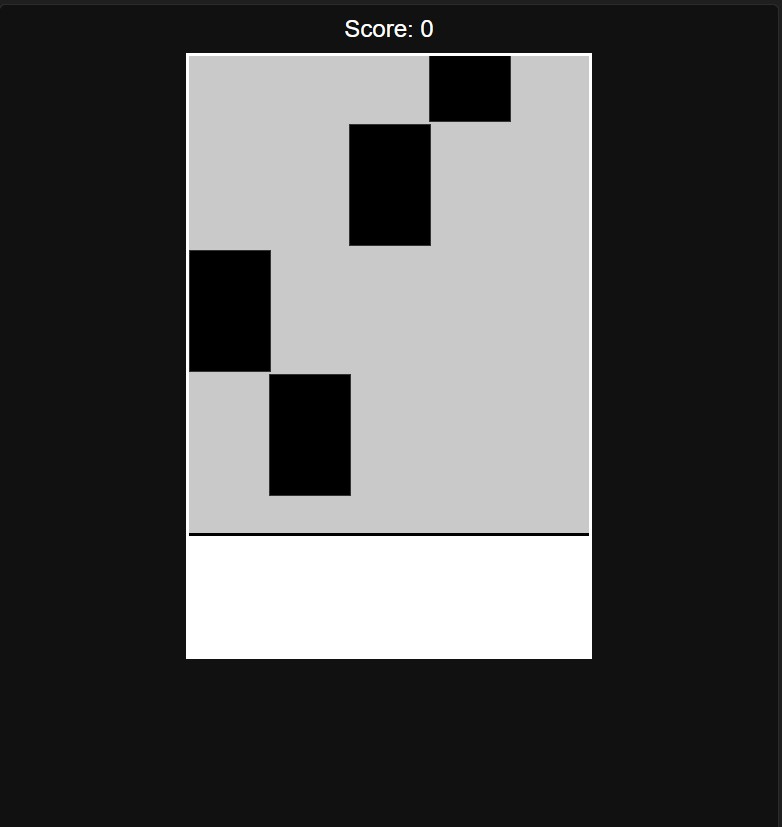
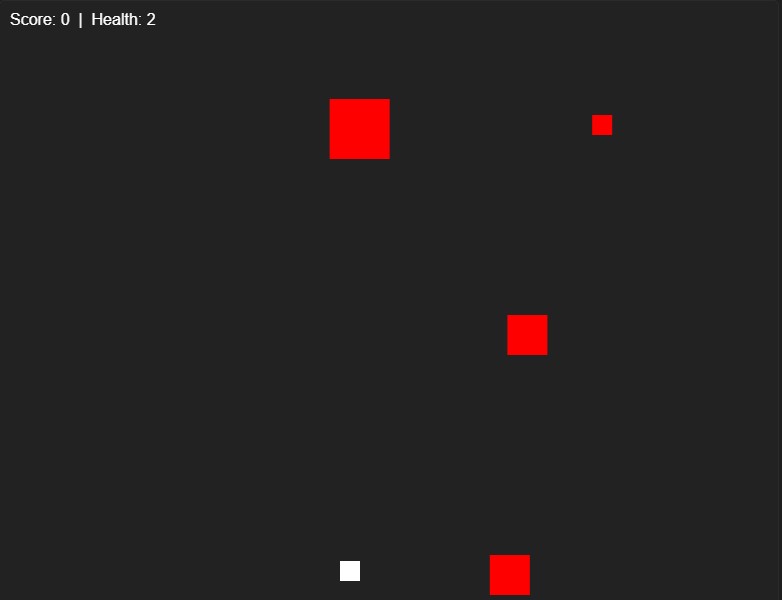
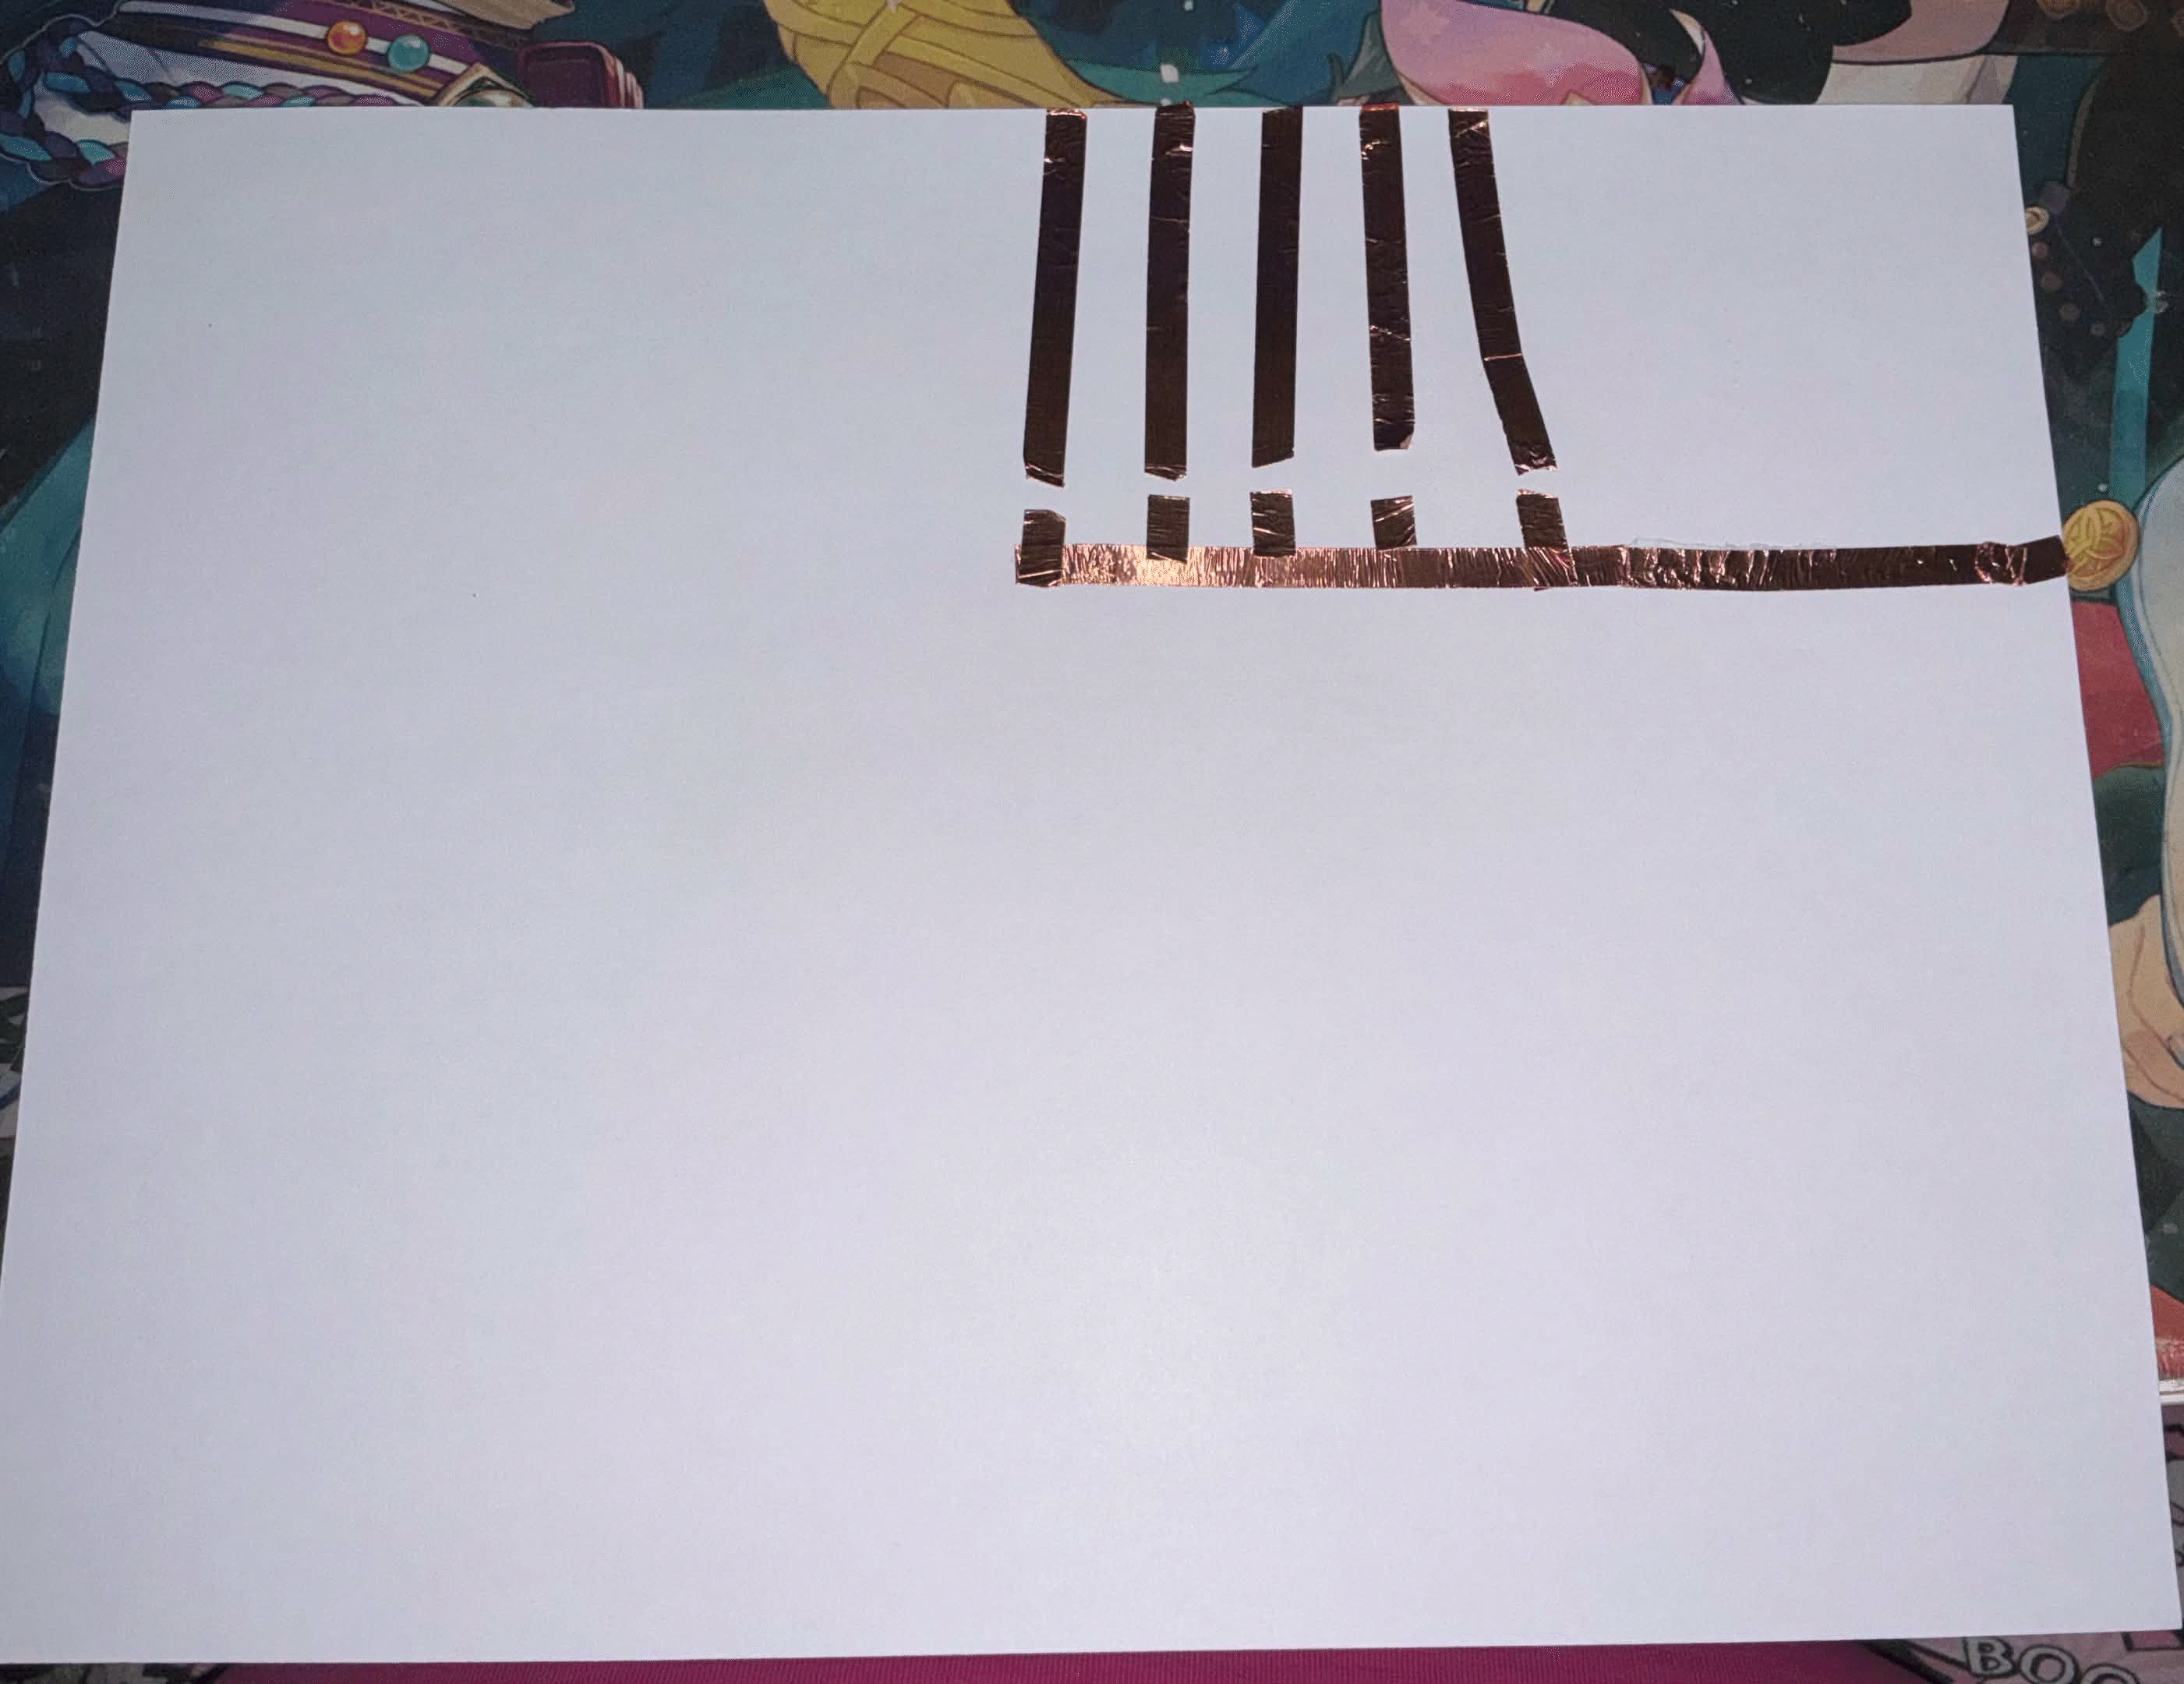
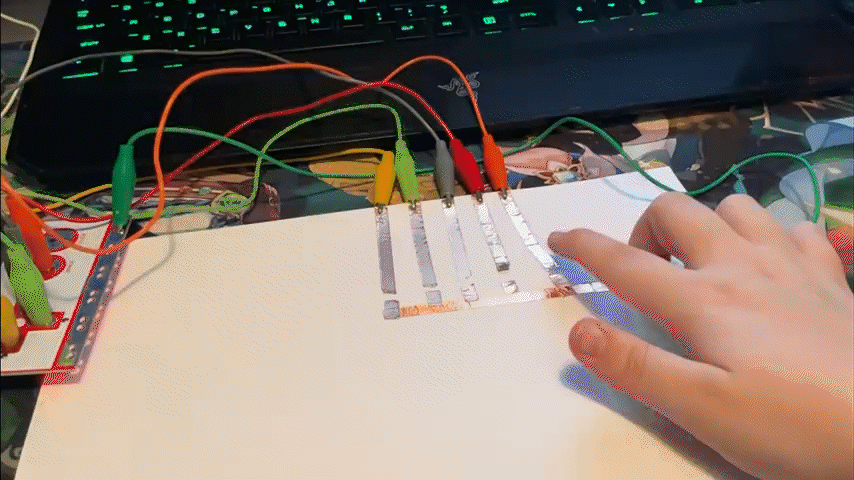
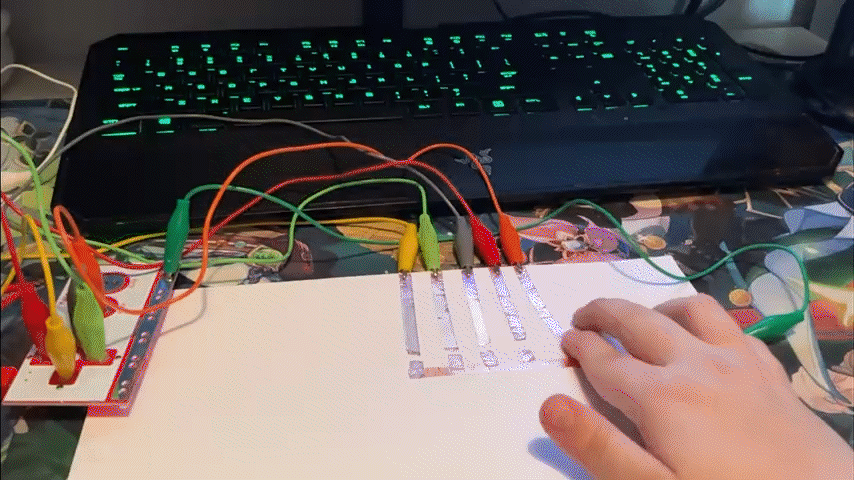
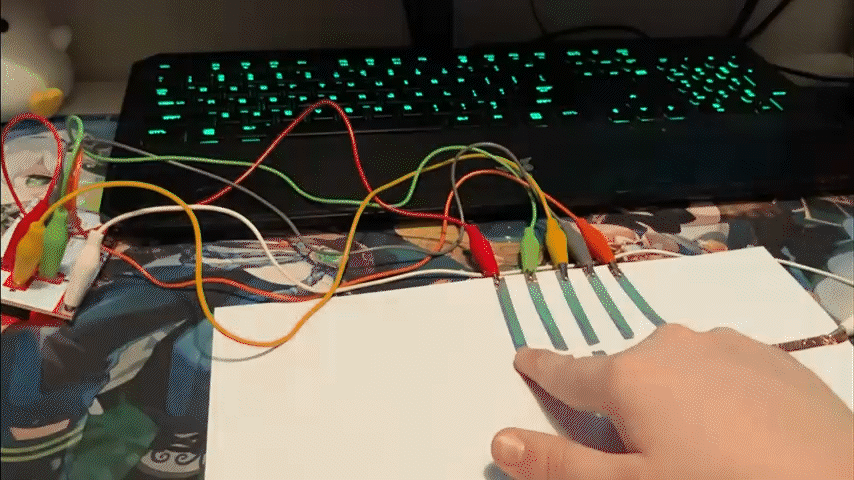
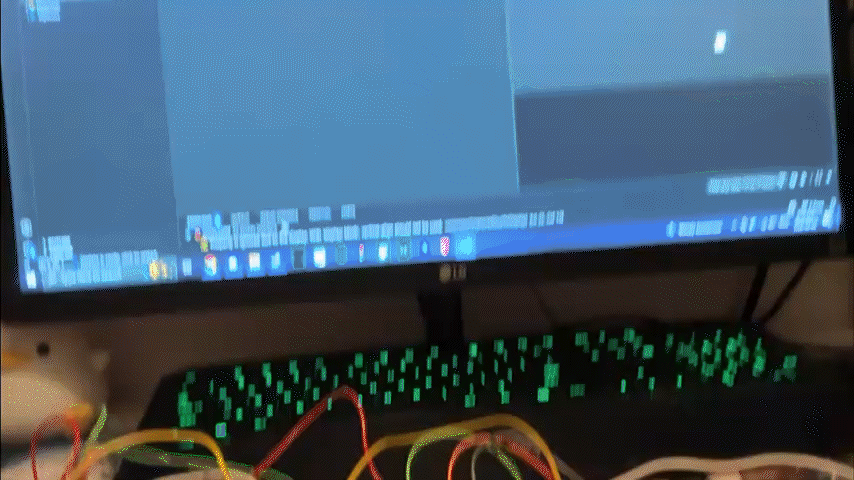
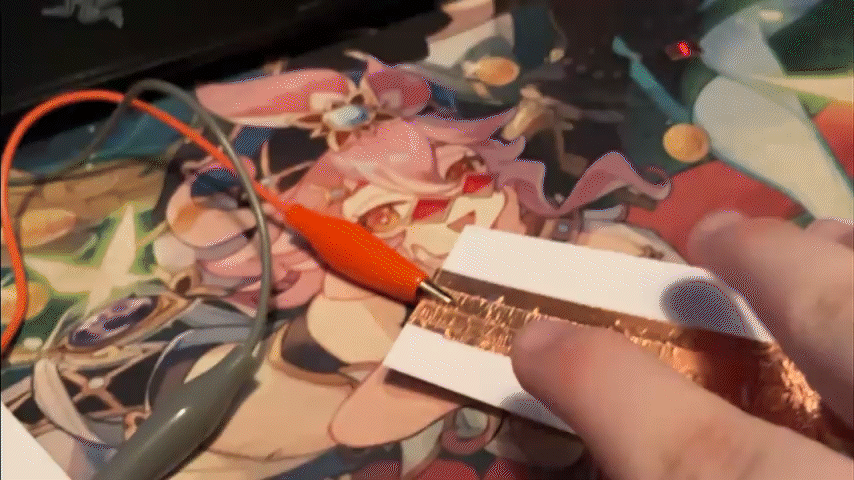
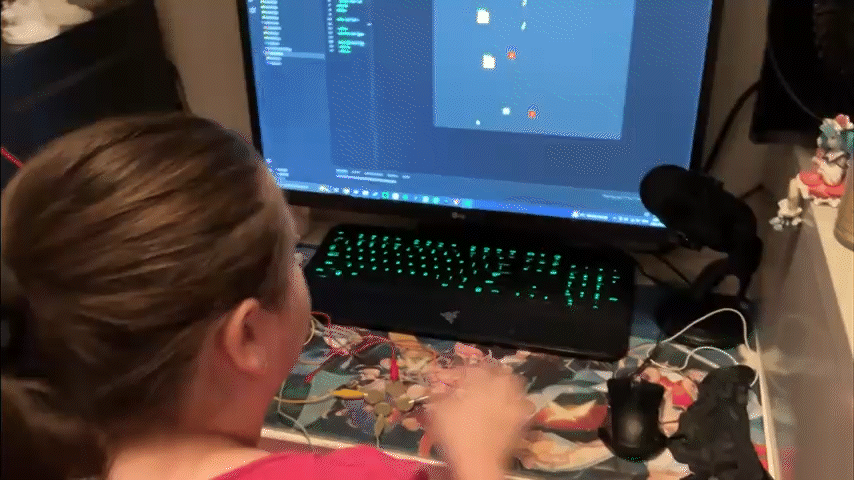
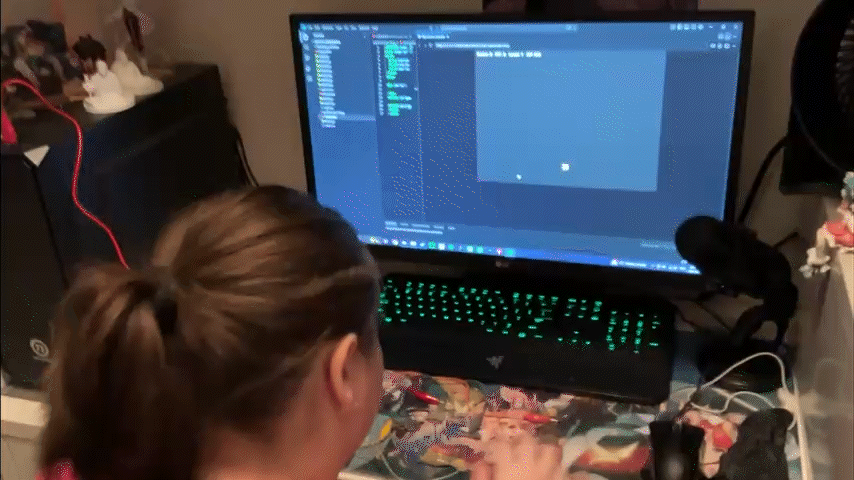
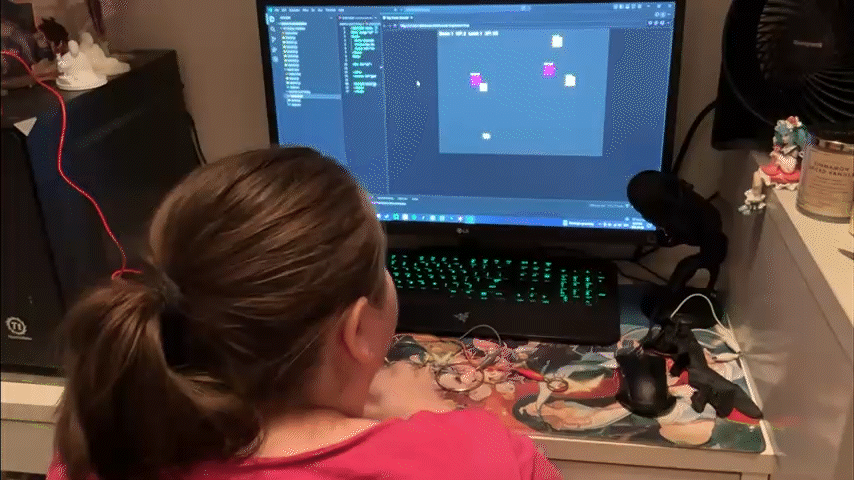
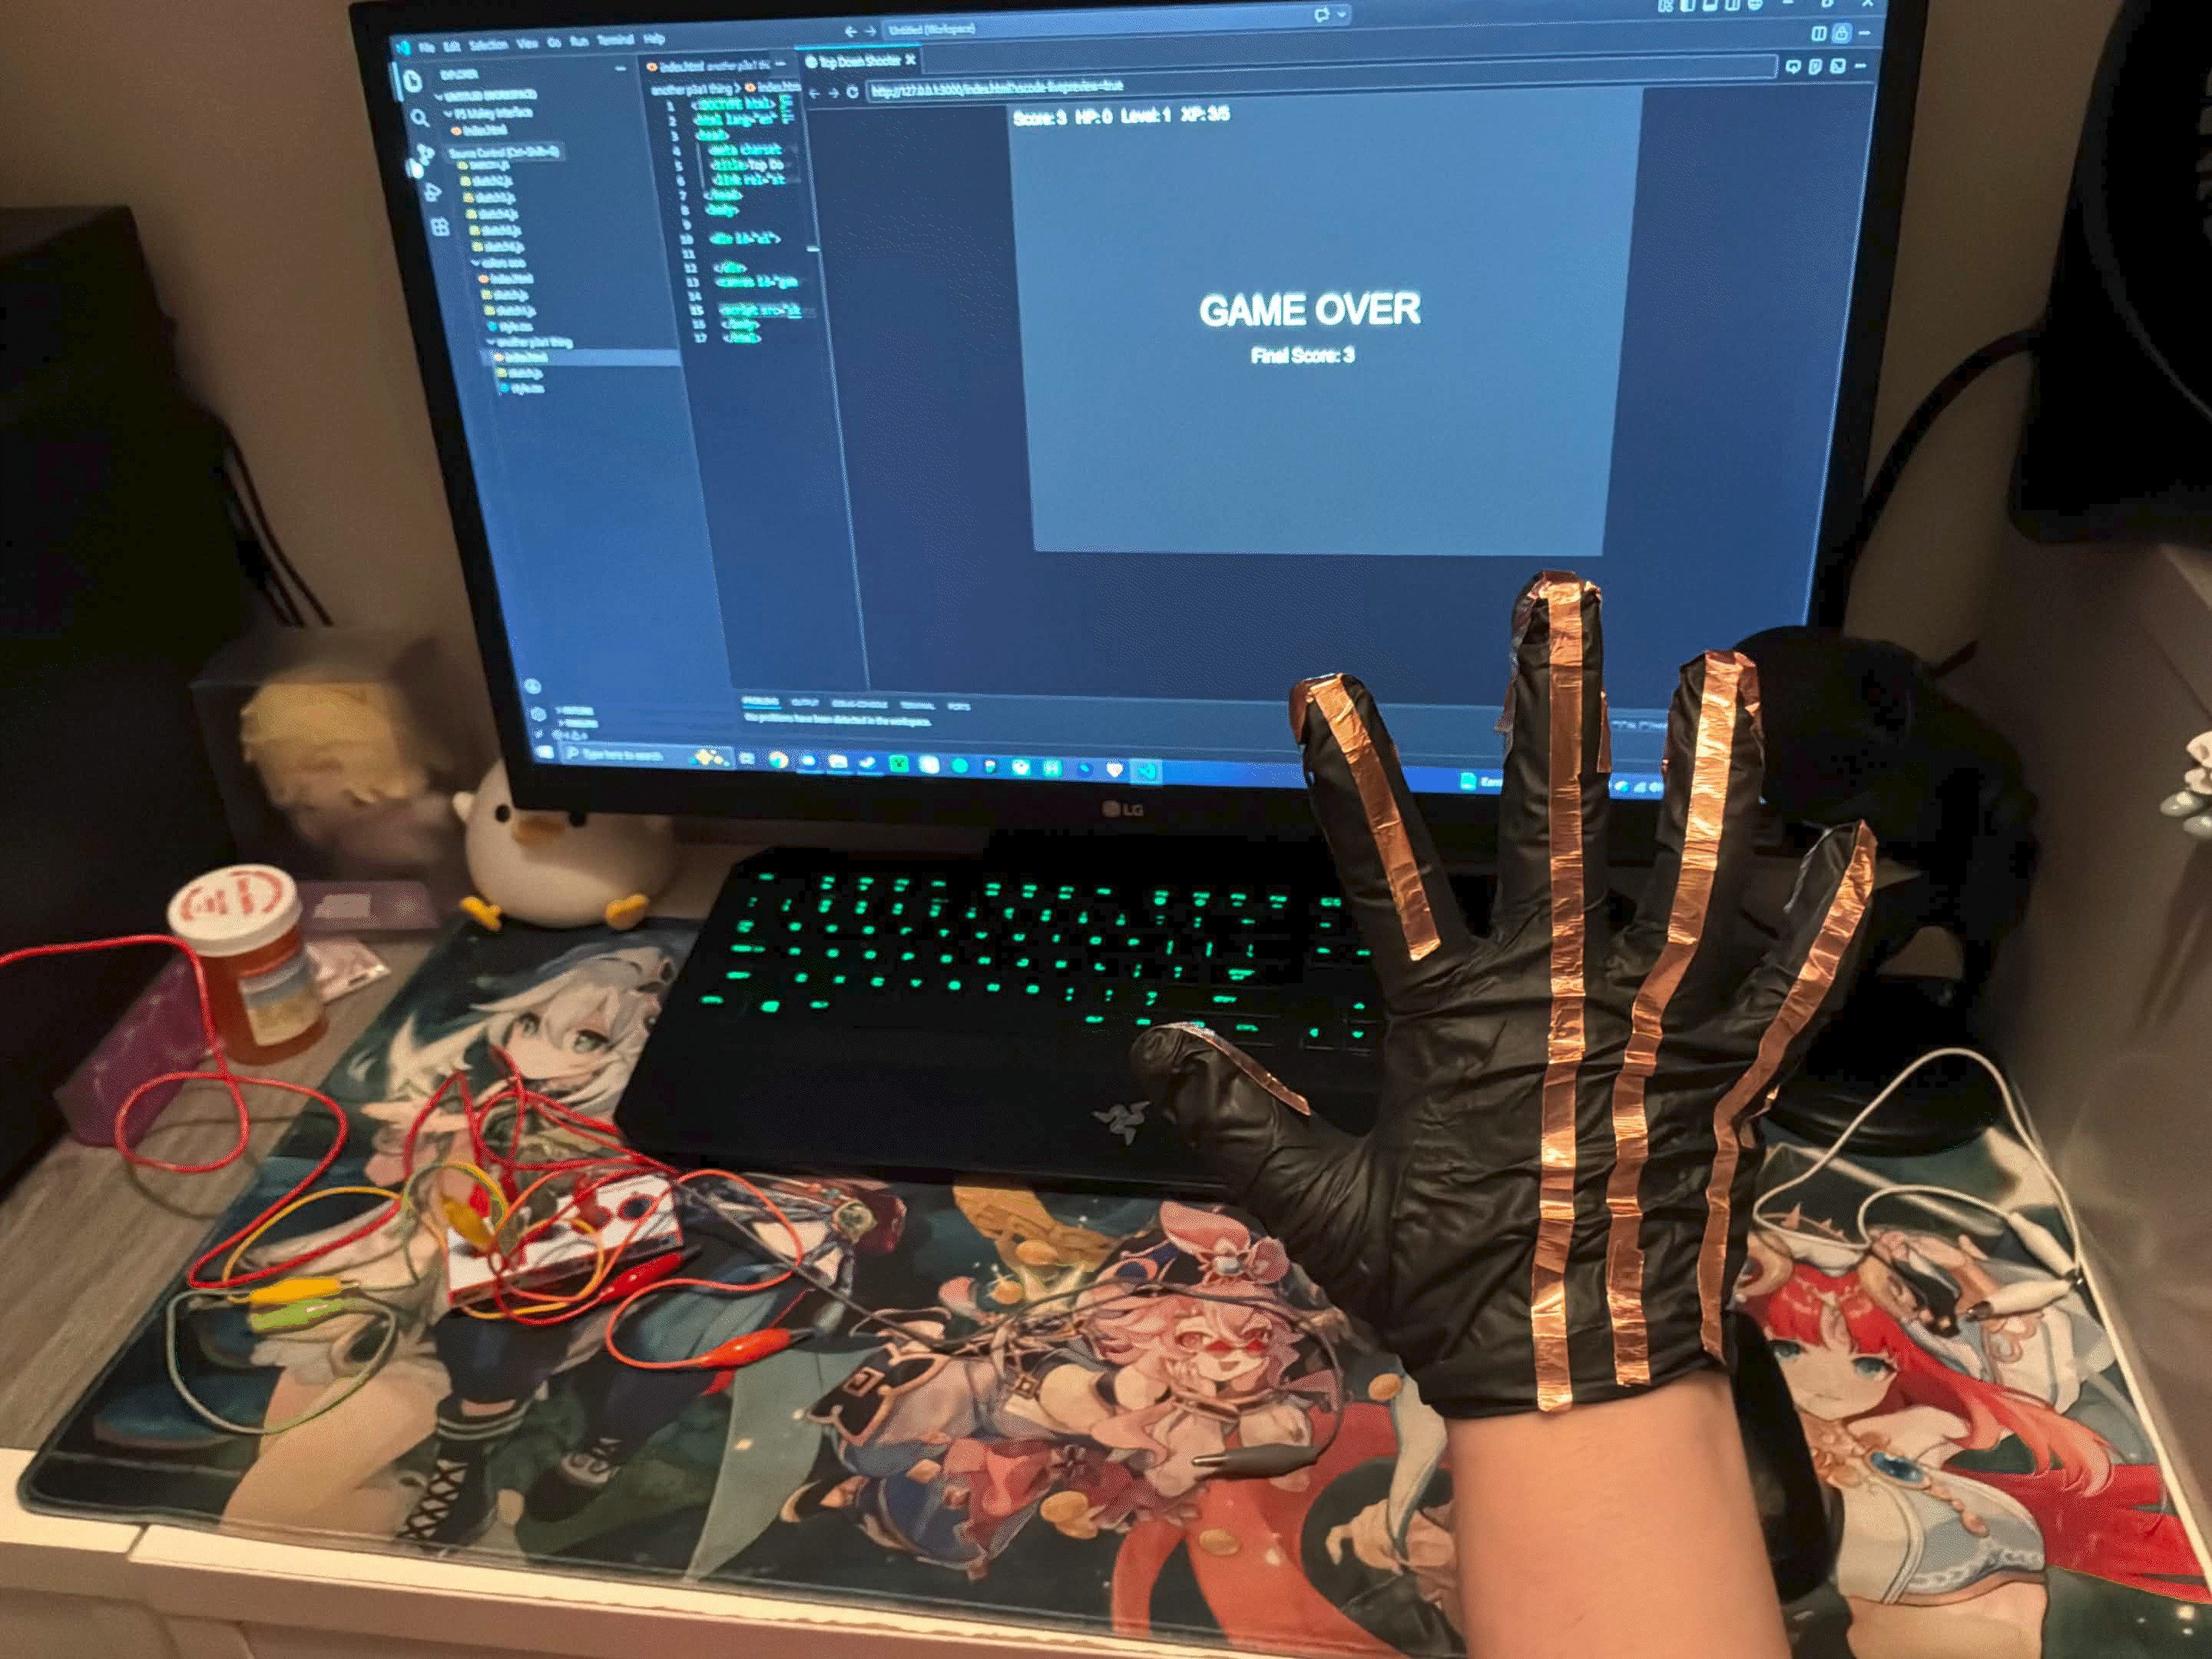
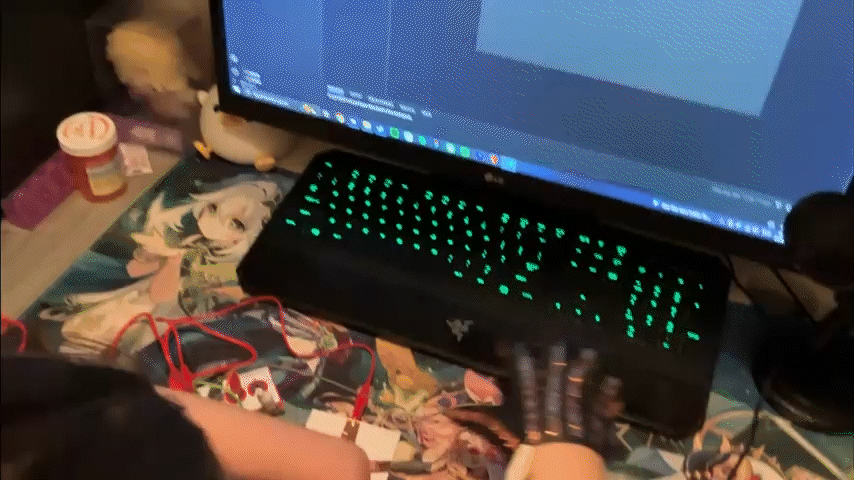
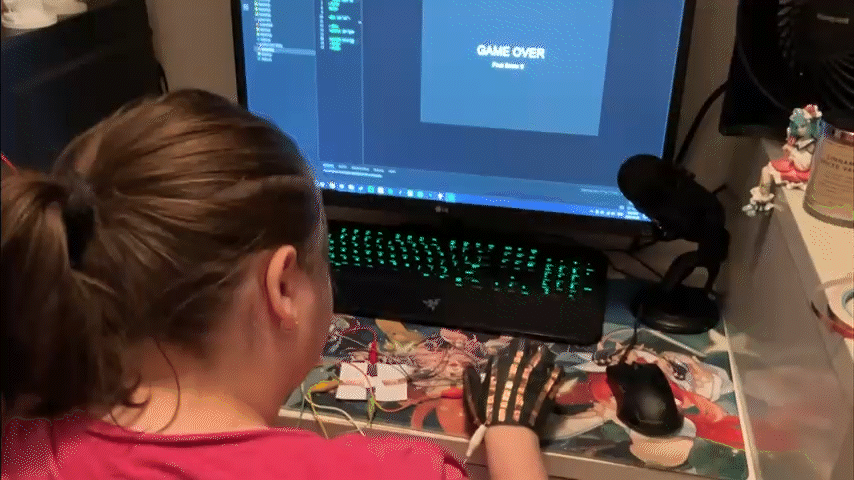
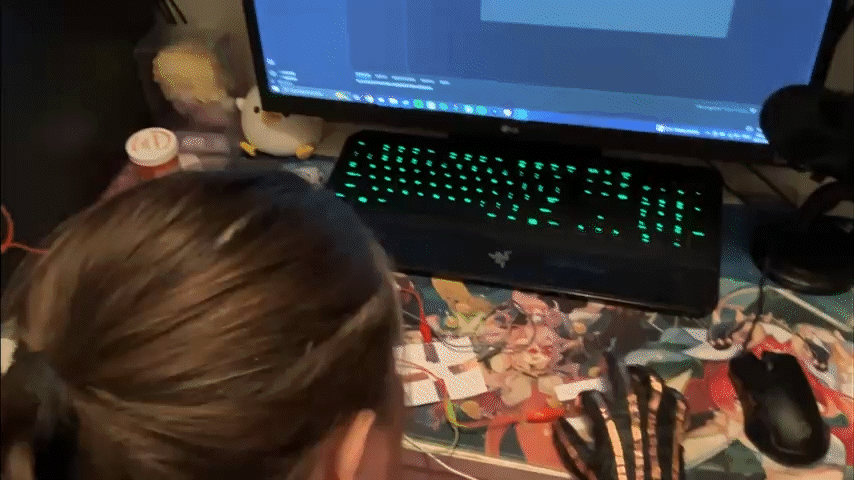
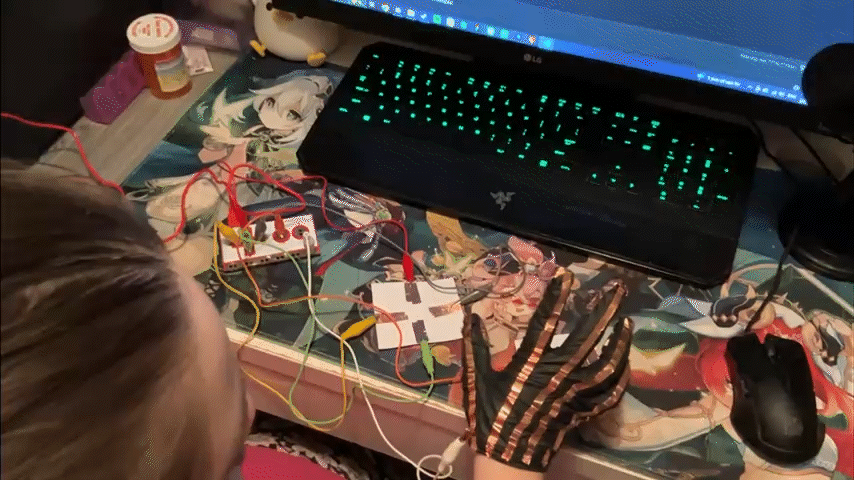
Final Project 3 Design

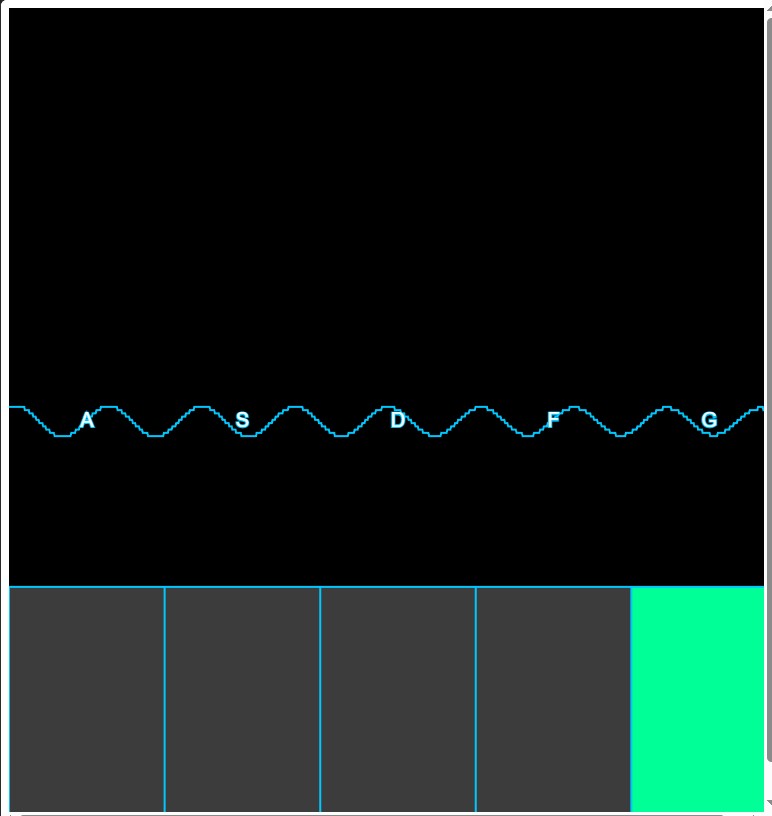
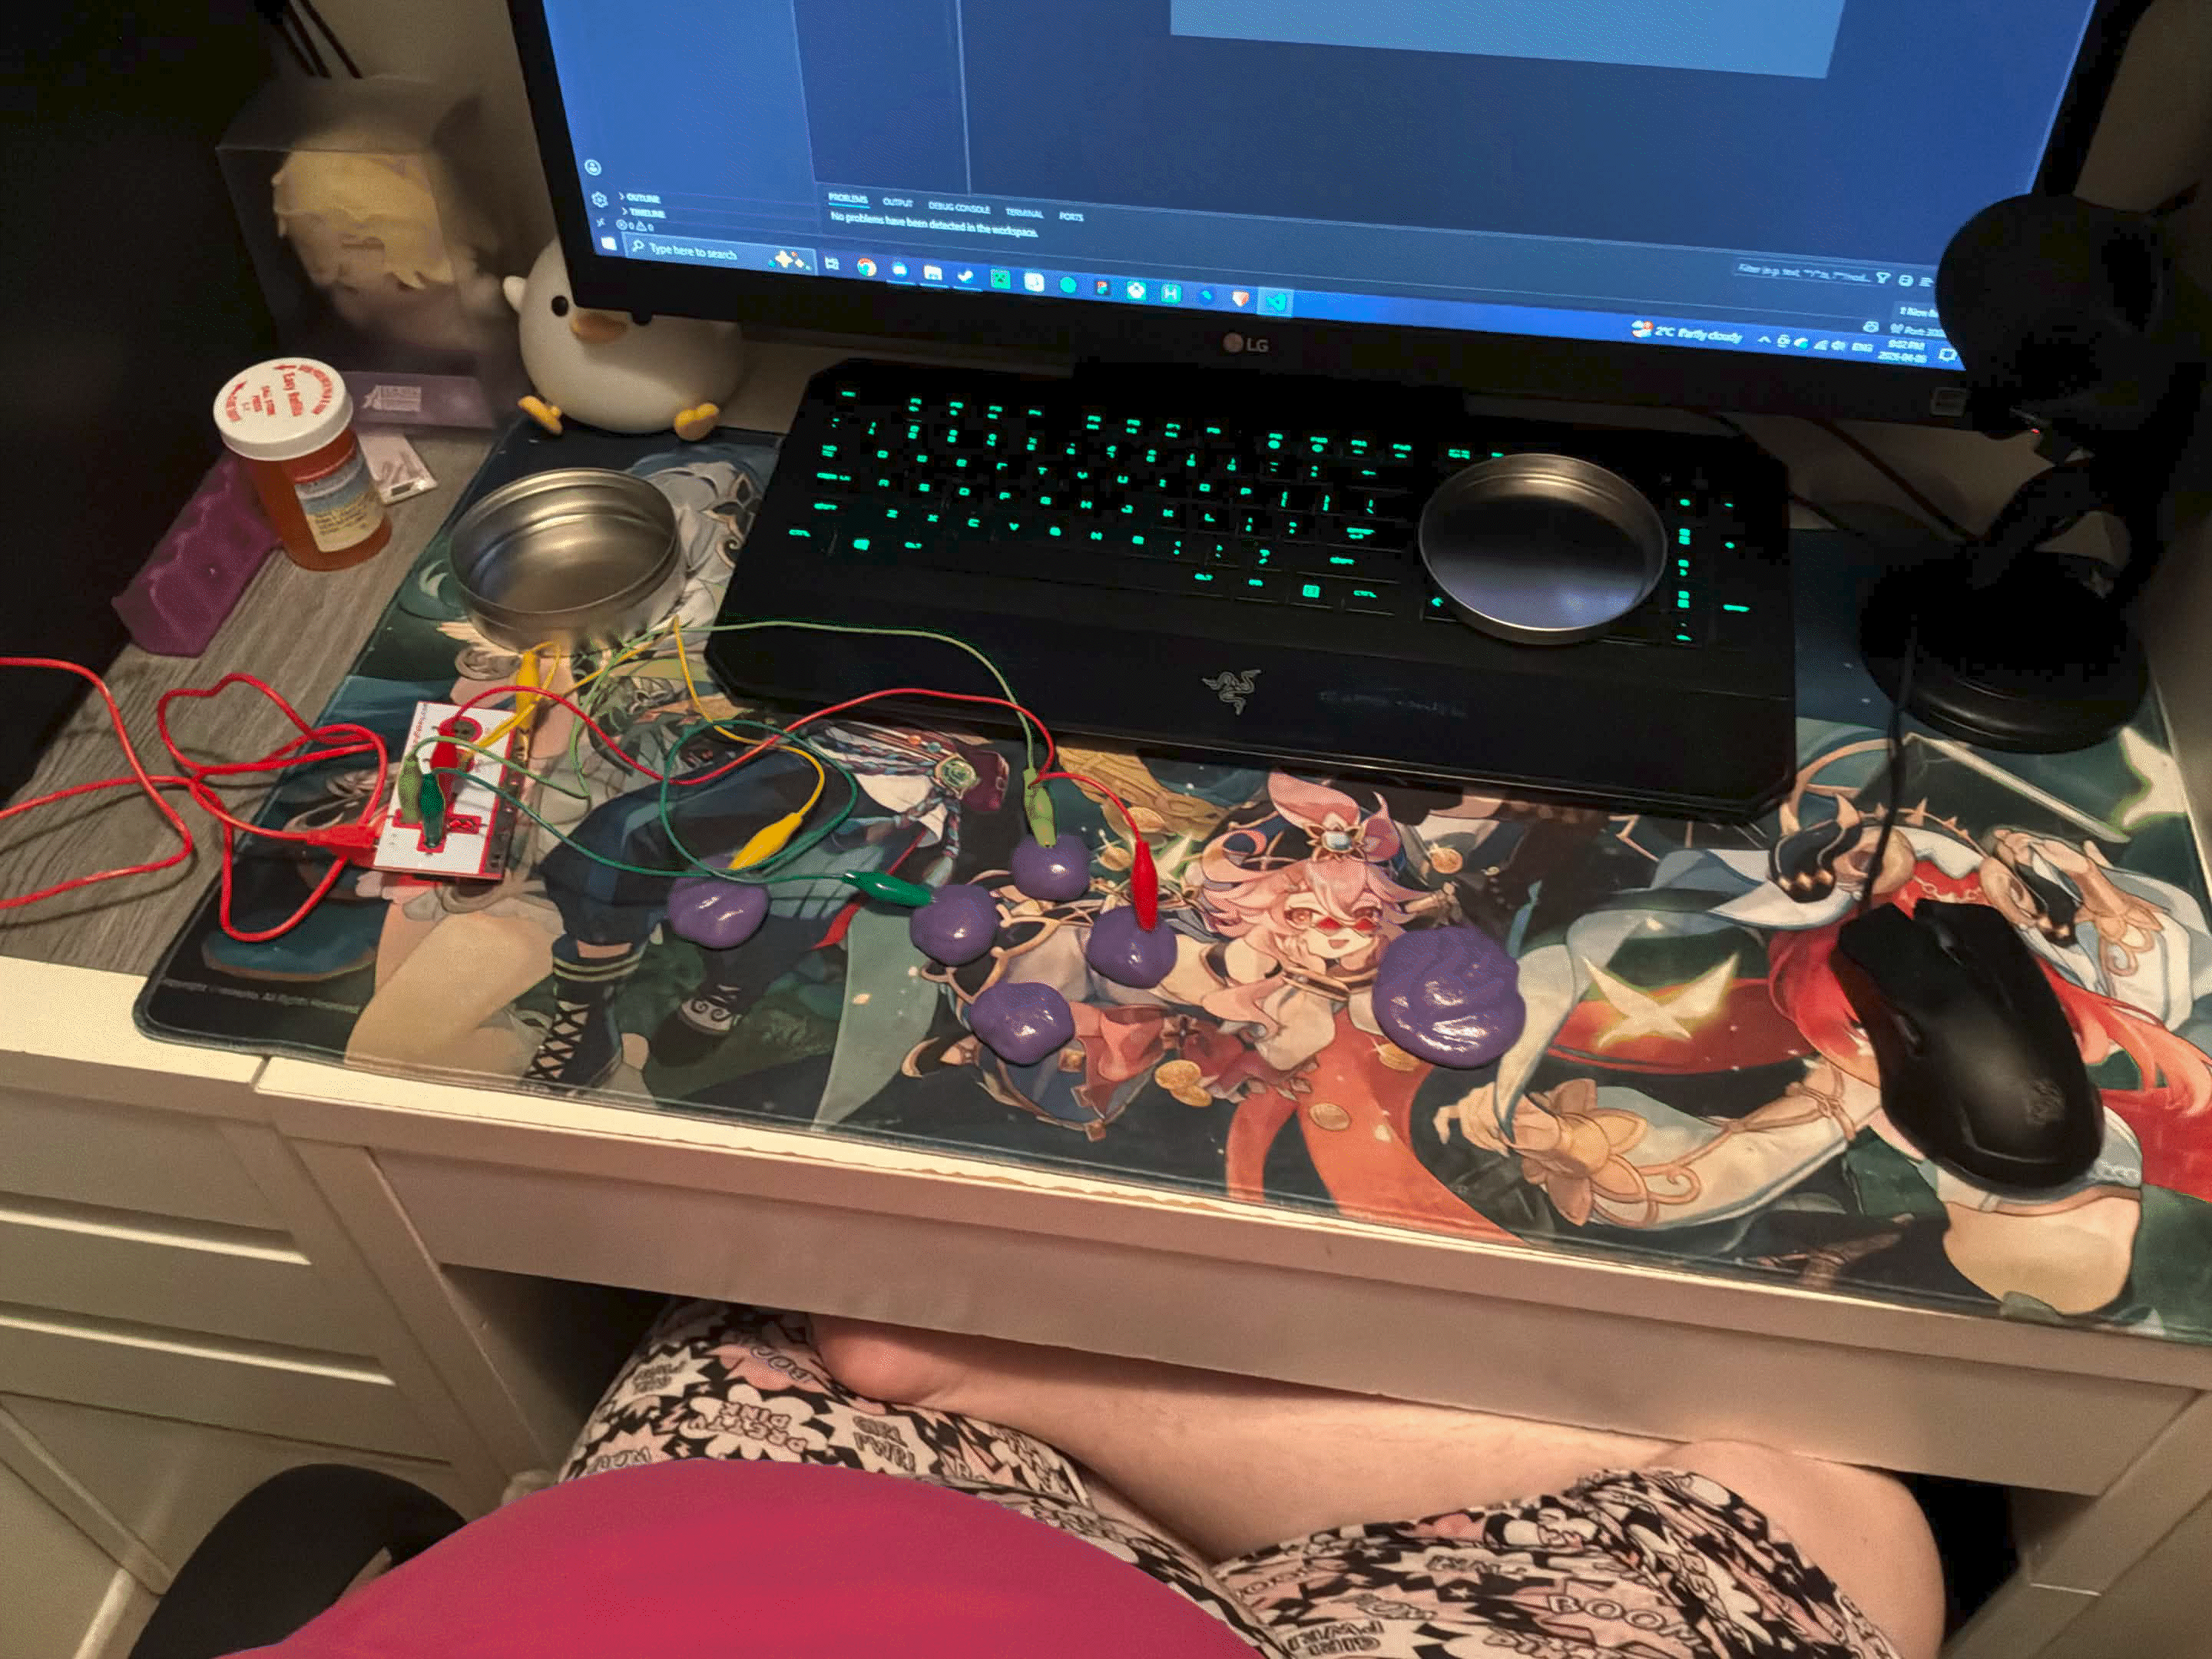
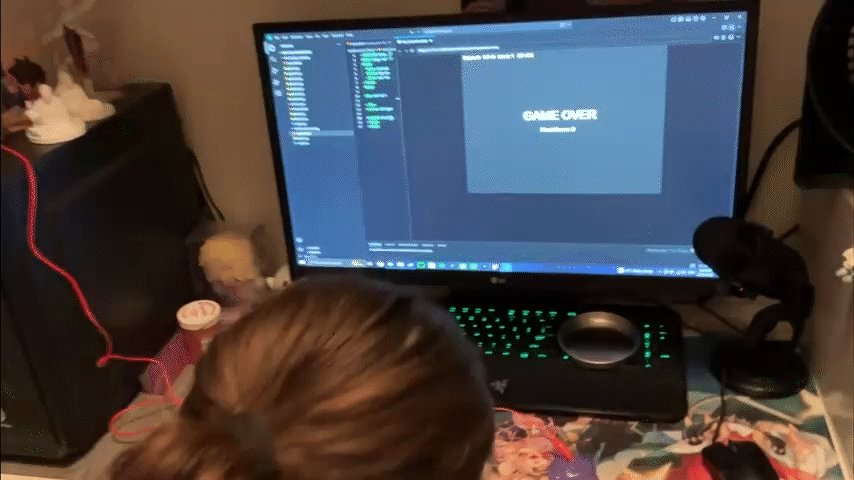
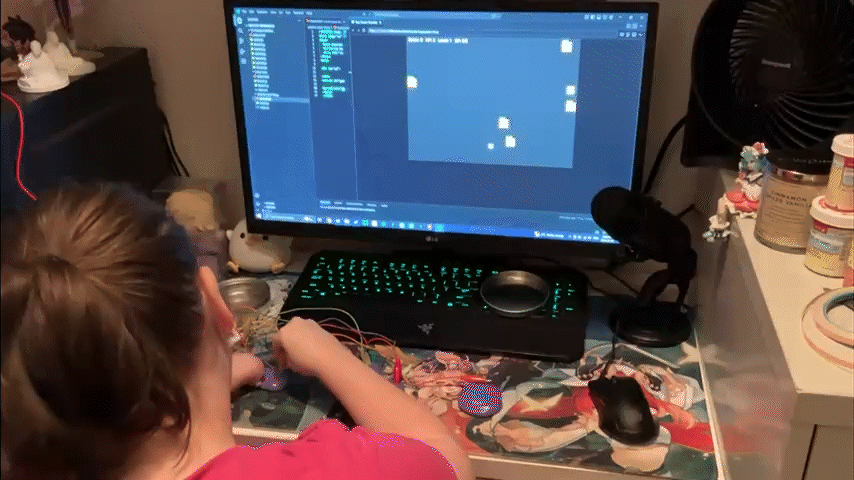
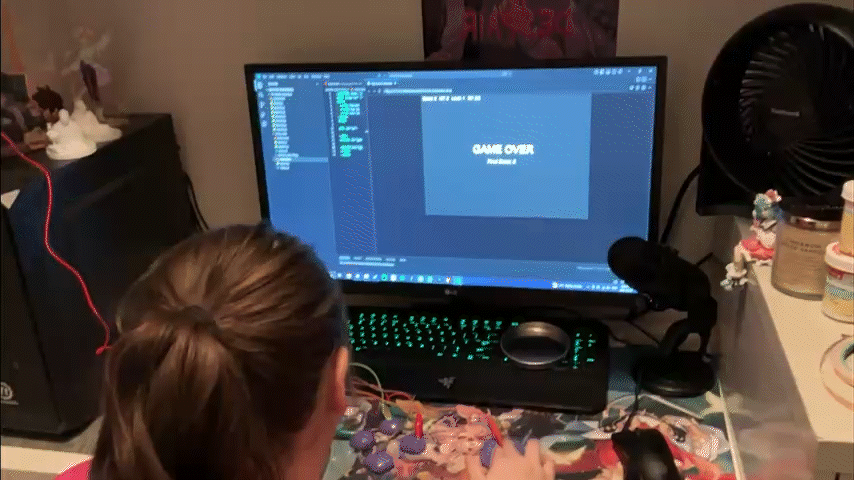
This is the final design for my project. The makey makey is underneath the keyboard and connects to copper tape that goes through holes underneath each key and connects to copper on the bottom side of the keys. The ground is connected to the copper on the bottom side of the keyboard underneath it as well. (The gif may take a moment to load.)

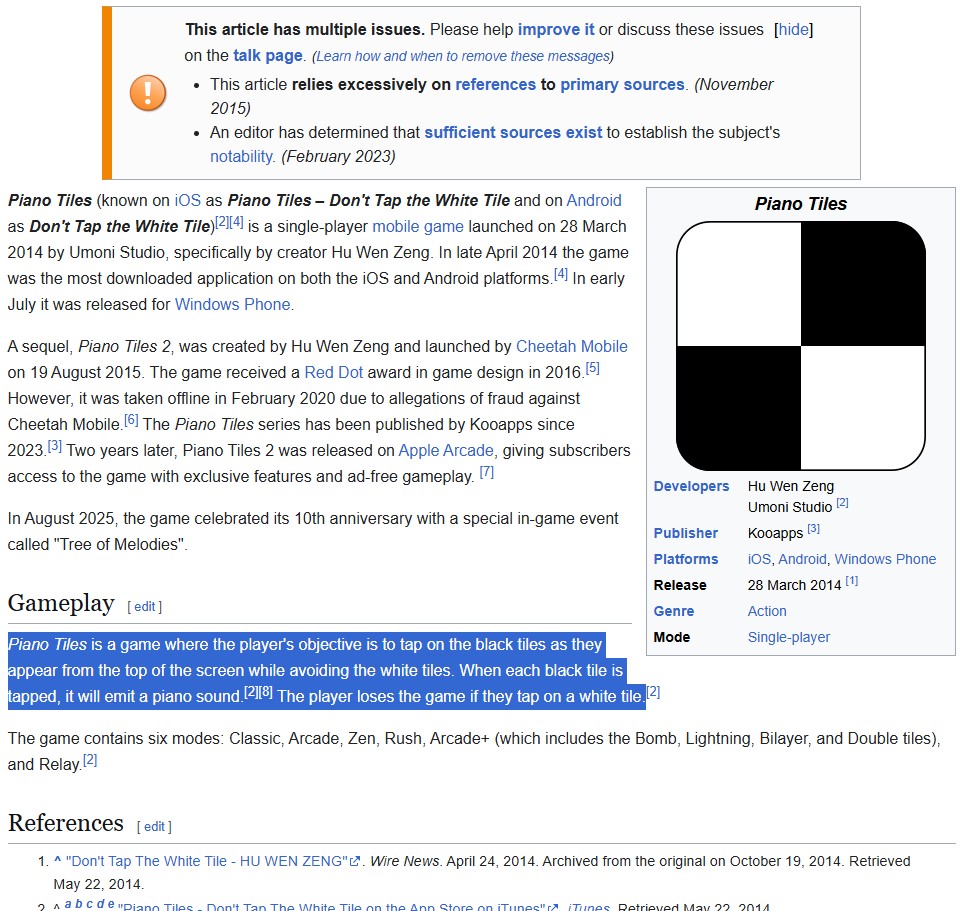
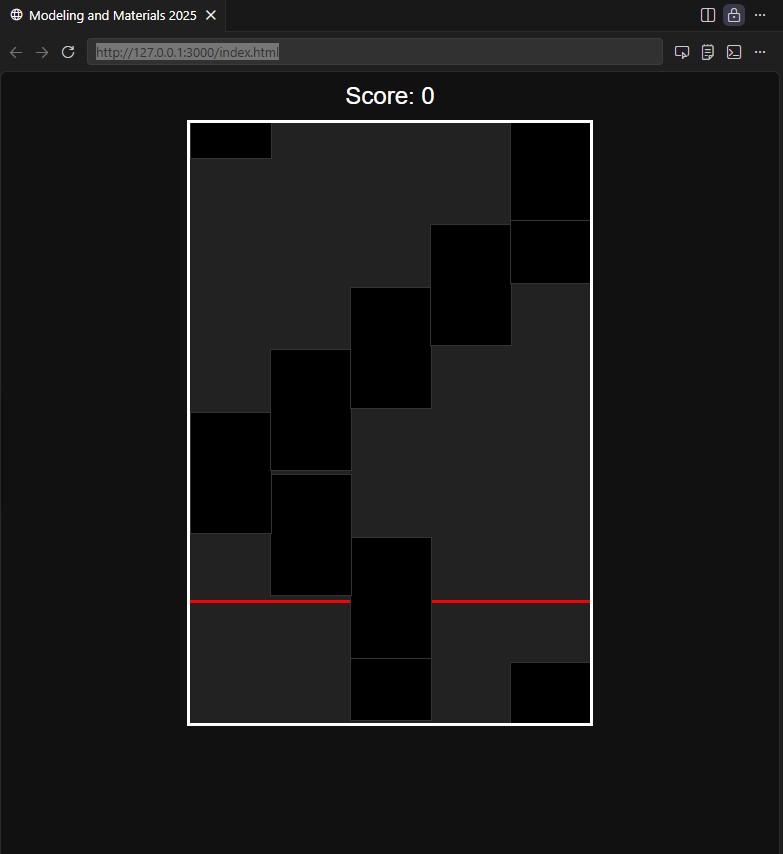
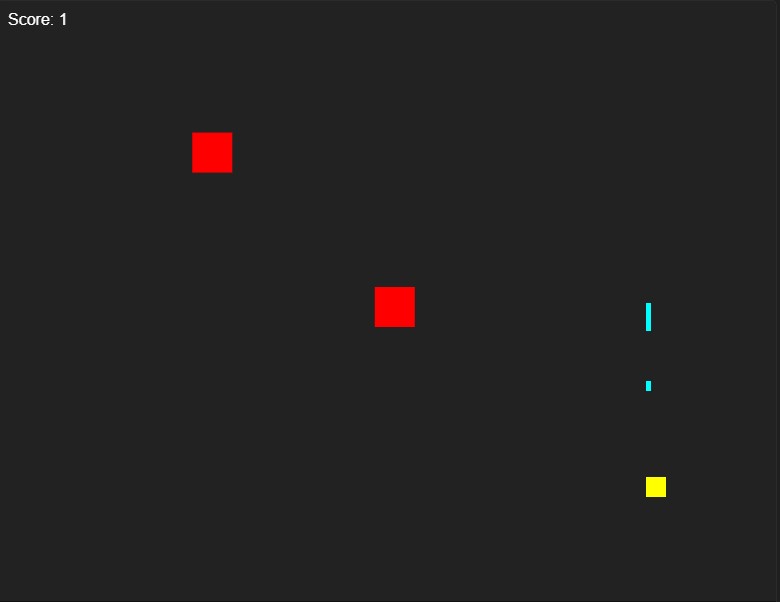
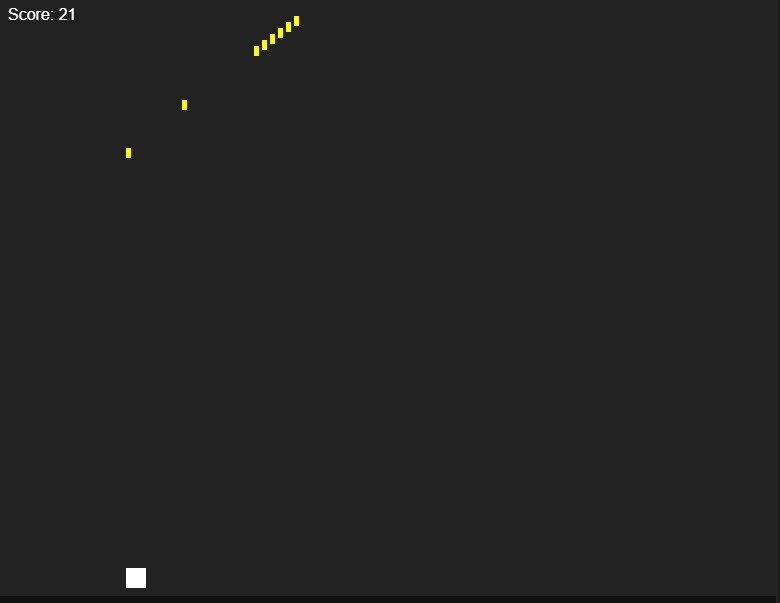
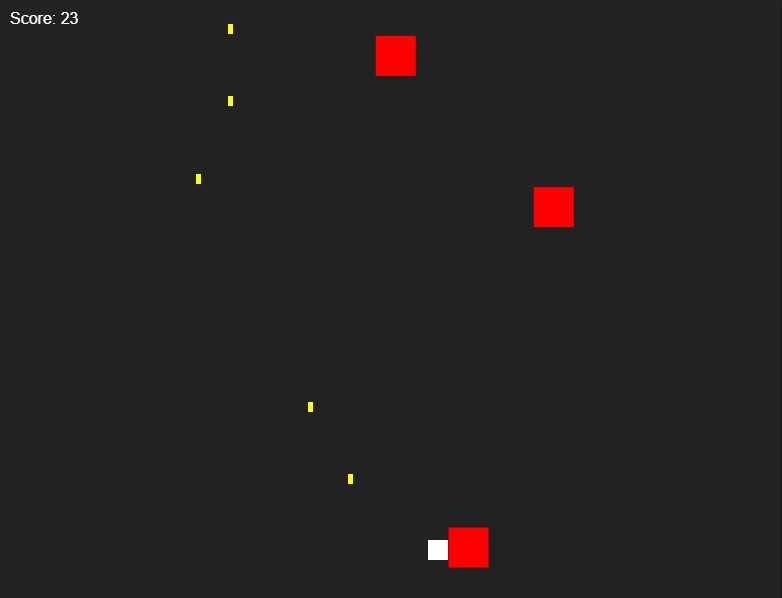
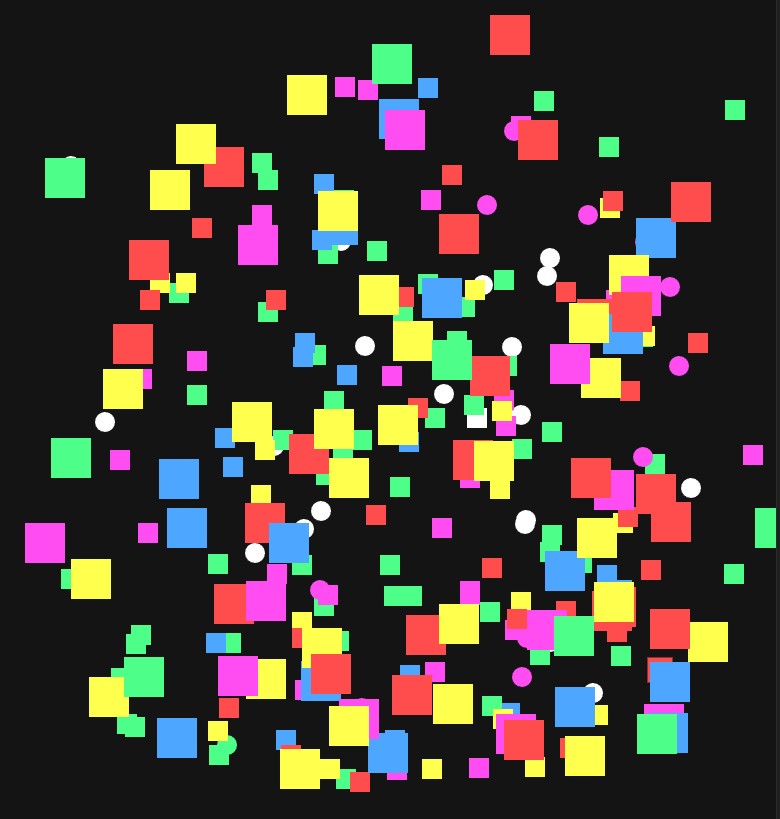
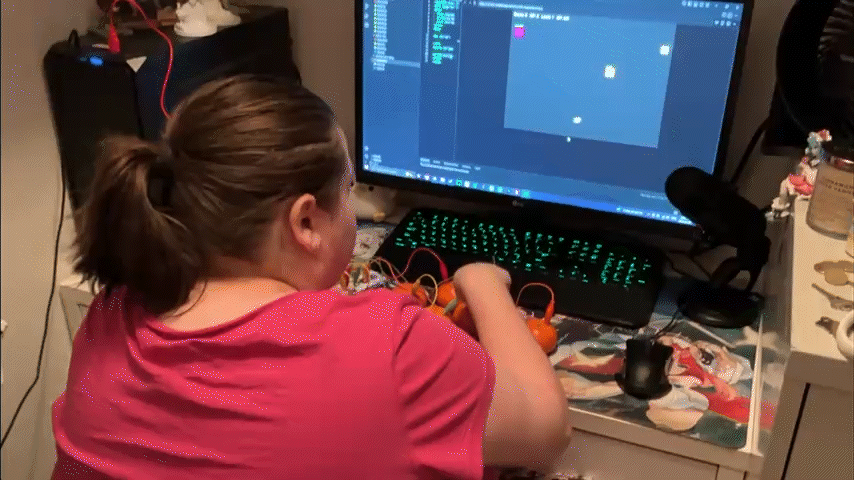
Here is a link to the website with the piano tiles game on it: https://freitage.phoenix.sheridanc.on.ca/Touch/

The final design working in action.
×

Powered by w3.css